This post may contain affiliate links. Please read my disclosure and privacy policy.
Roasted chickpeas are my new favorite snack. With the right seasoning, they are satisfying enough to replace my craving for chips, all while being crispy and filling! Serve them on your favorite salad instead of croutons, or enjoy them as a snack straight from the oven. It’s hard to stop eating them once you get started.

Why You’ll Love Them
- They’re good for you. Roasted chickpeas contain almost all of the essential amino acids your body needs (except methionine) and may lower your blood glucose levels. When you enjoy them as a snack during the day, you may find yourself naturally eating fewer calories, too.
- They’re filling. Chickpeas contain both fiber and protein, to help keep you feeling full. In fact, one study suggests that adding chickpeas to your day may help to curb junk food cravings.
- They’re delicious. With the garlic seasoning, these really remind me of croutons, only with more plant-based protein in each bite.
- They’re easy. Just toss the chickpeas with oil and seasonings, then let them roast to crispy perfection. It’s relatively hands-off!
- They’re affordable. Making roasted chickpeas is far cheaper than buying a similar snack at the store. All you need is 1 can of chickpeas, and a few seasonings that you probably already keep on hand.
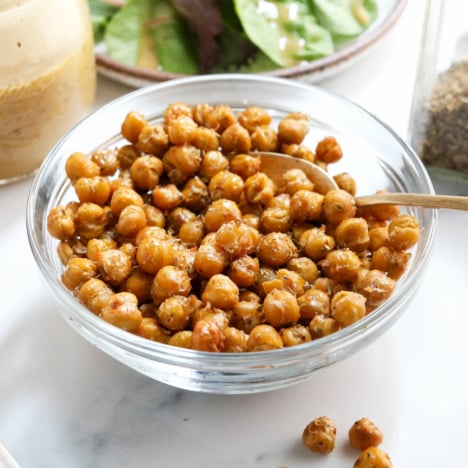
I love using roasted chickpeas as a salad topper, and they’re also delicious on top of your favorite soup recipe, for added crunch!
How to Roast Chickpeas
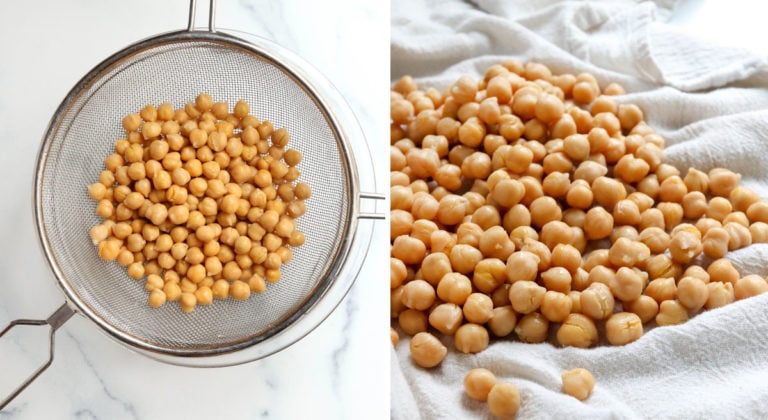
- Drain the chickpeas. If you’re using canned chickpeas, be sure to drain and rinse them well. Pat dry with a towel, to remove any excess moisture, then transfer them to a rimmed baking sheet.
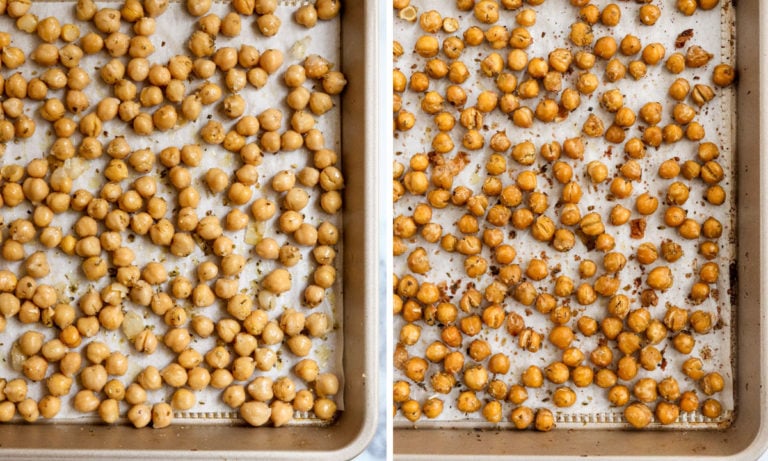
- Add the seasoning. Drizzle the chickpeas with olive oil, and sprinkle on the garlic powder, oregano, and salt. Toss well, directly in the pan, until the chickpeas look evenly coated.
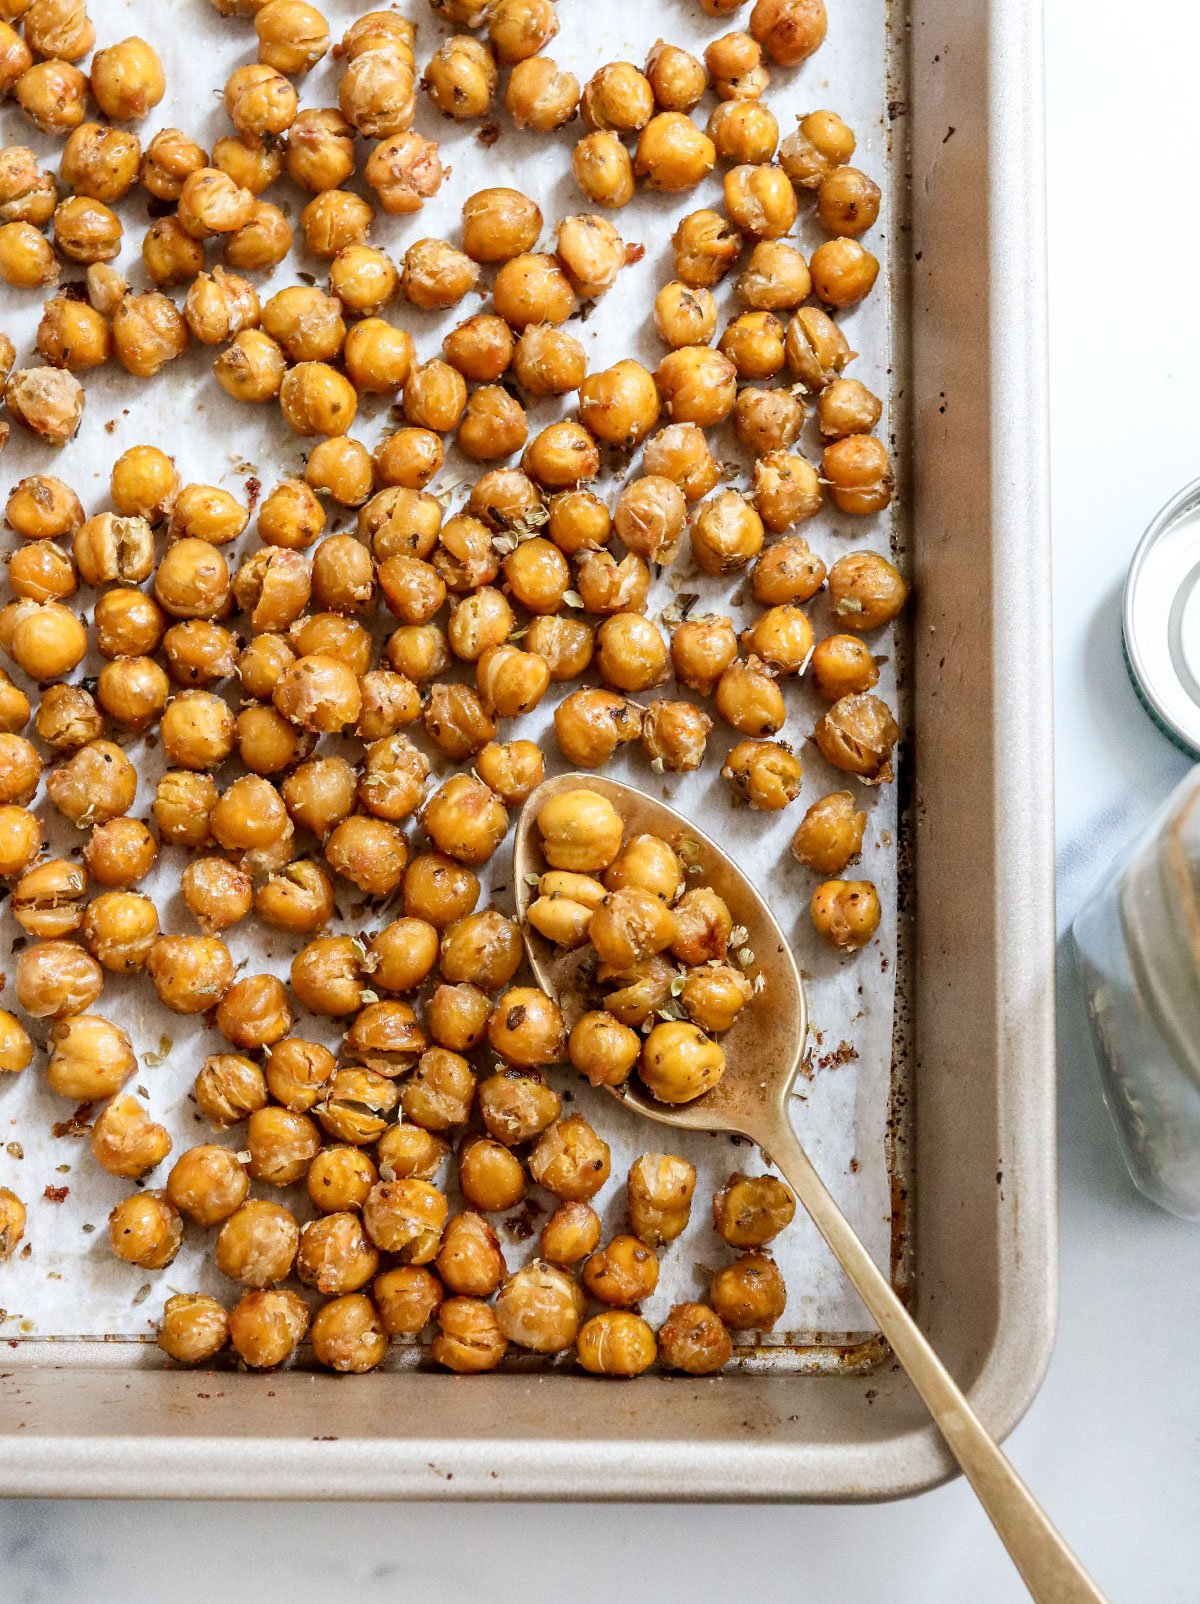
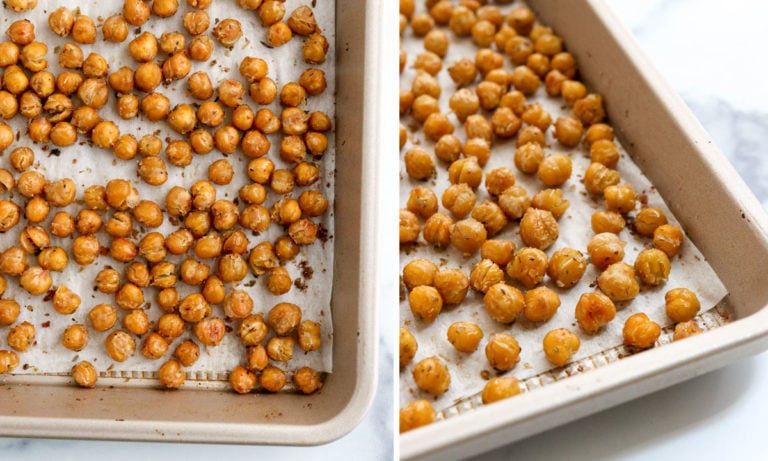
- Bake. Be sure to spread the chickpeas out, so they will crisp up as fast as possible, and bake until they are lightly golden, about 30 minutes. Shake the pan after 20 minutes, to make sure they cook evenly.
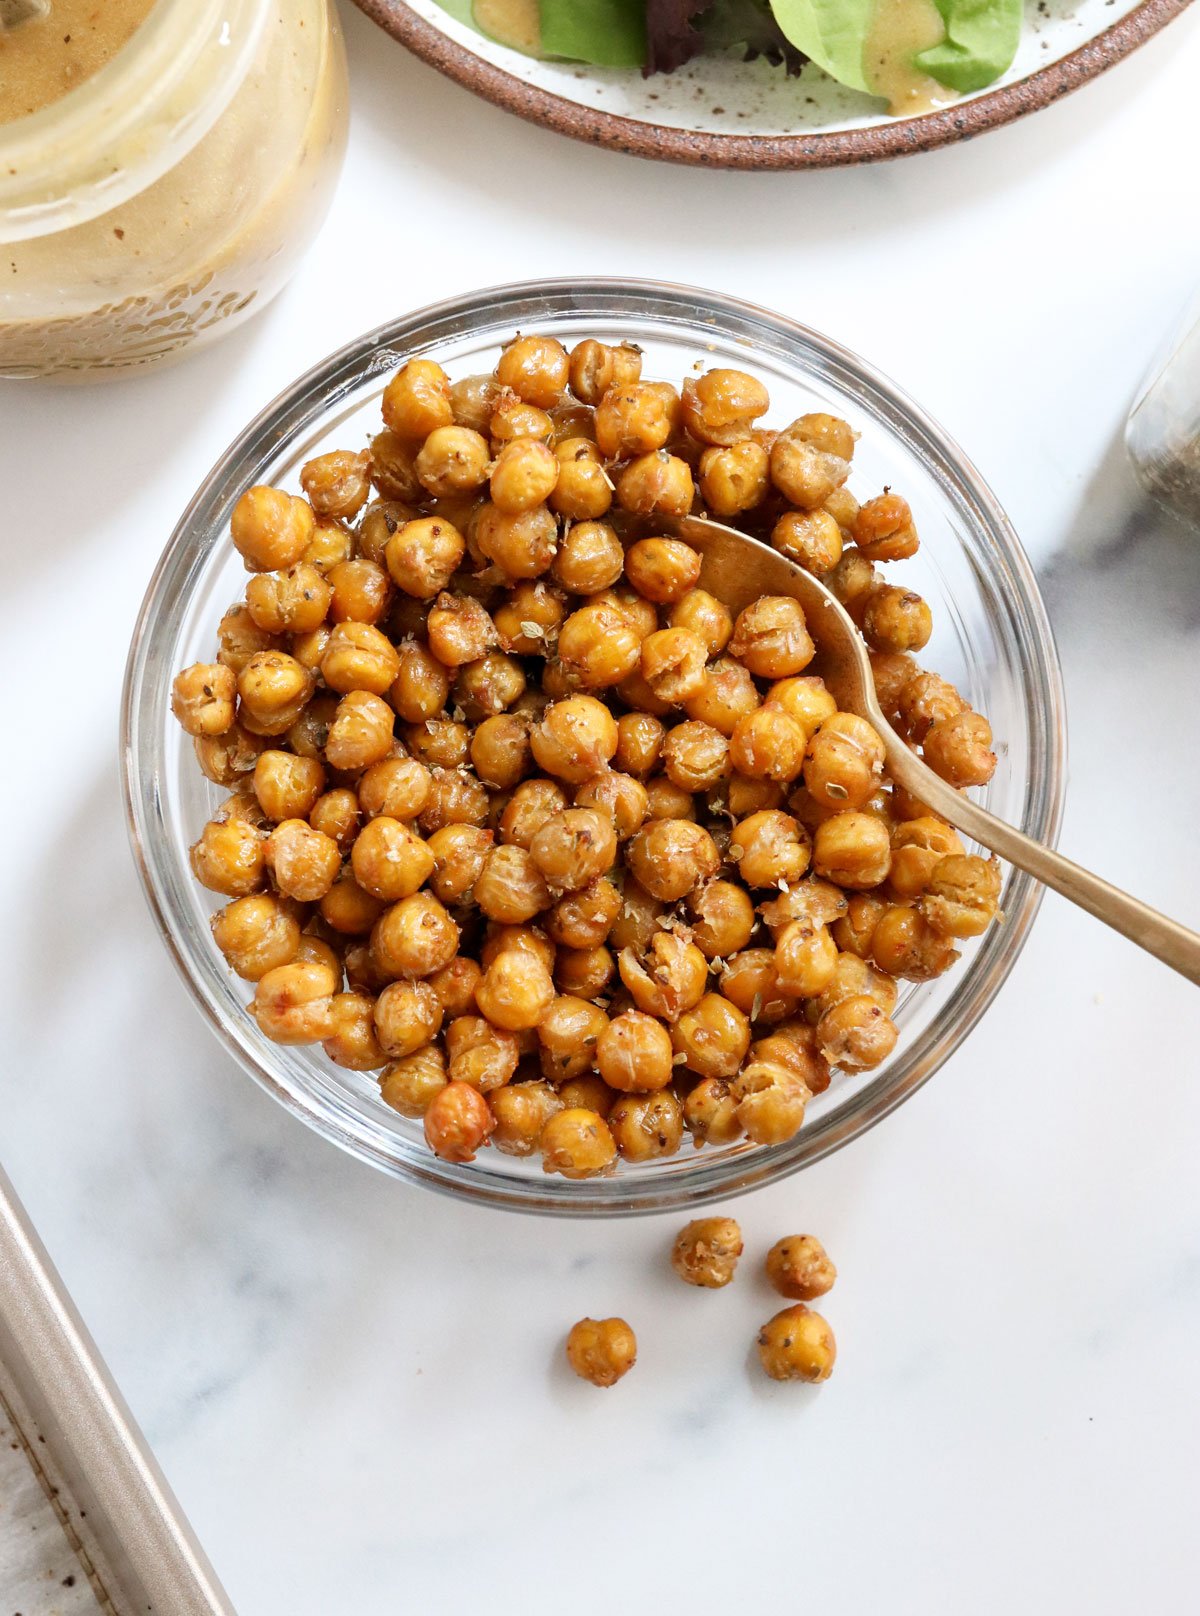
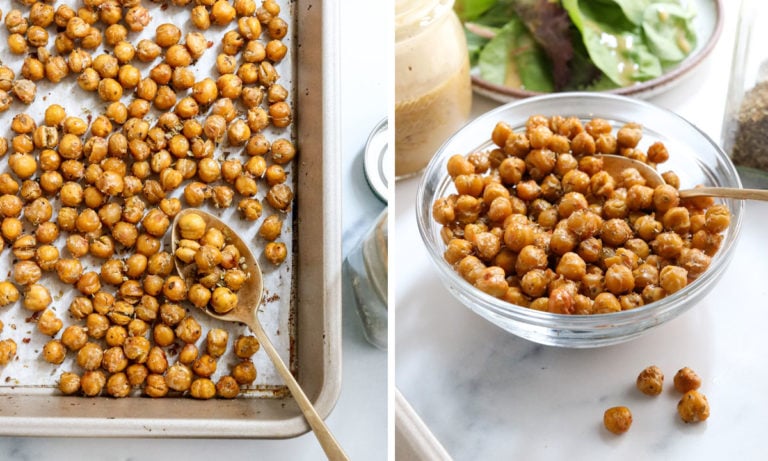
- Enjoy! Roasted chickpeas have the best texture when you serve them soon after baking. I love to snack on them warm, straight from the pan. As they sit at room temperature, they will soften slightly, but they’re still delicious.
For extra-crispy chickpeas, you may want to cook them even longer, for 40 to 45 minutes. Just keep in mind that the chickpeas will dry-out the longer they bake.
I prefer roasted chickpeas that are lightly crunchy on the outside, and still a little tender on the inside, which I can achieve in about 30 minutes of baking.
Feel free to experiment with baking time, to see which texture you prefer.
How to Use Them
Now that you’ve made roasted chickpeas, here are some delicious ways to serve them.
- On top of Roasted Tomato Soup.
- Over a Vegan Caesar Salad.
- In a Falafel Bowl.
- Tossed with a Greek Pasta Salad.
- And them to my favorite Quinoa Salad.
I can’t wait to hear how you enjoy them!
More Plant-Based Proteins
If you love these roasted chickpeas, be sure to also try Crispy Baked Tofu or Peanut Butter Protein Balls.
Ingredients
- 1 (15 oz.) can chickpeas , drained and rinsed
- 1 tablespoon extra-virgin olive oil
- 1/2 teaspoon salt
- 1/2 teaspoon garlic powder
- 1/2 teaspoon dried oregano (optional, but highly recommended!)
Instructions
- Preheat the oven to 400ºF. Drain and rinse the chickpeas, then pat them dry with a towel. You can remove any loose chickpea skins if you want to, but I personally like to bake those as well. They get super crispy, like chips!

- Add the dry chickpeas to a large rimmed sheet pan, then drizzle with the olive oil, salt, garlic powder, and oregano. Toss well, then spread them out so the beans aren't touching each other as much as possible. Bake at 400ºF for 20 minutes.

- When the timer goes off, check on the roasted chickpeas and remove any small pieces that might be turning dark brown. (The crispy chickpea skins are usually ready after 20 minutes.) Shake the pan to help promote even cooking, then bake for another 10 to 20 minutes, until the chickpeas are as crispy as you like. I like them after 30 minutes of cooking, so they are still a little soft and tender on the inside, but 40 to 45 minutes of cooking will make them drier and crispier.
- Roasted chickpeas are best served right away, soon after baking. Feel free to sprinkle on additional seasonings, like an extra pinch of salt or oregano, as needed. (I usually add a little extra salt, because some of the seasoning will stick to the pan.) They become softer as they sit out at room temperature, and they develop a chewier texture when you store them in the fridge, but they can most likely be stored for up to a week in an airtight container in the fridge.
Video
Notes
Nutrition
If you try these roasted chickpeas, please leave a comment below letting me know how you like them. And if you try any other seasoning combinations, I’d love to hear about those, too!
–
Reader Feedback: What’s your favorite savory snack?


Where is the warning that we should make a double batch because these are so delicious?!!! AND so simple. Thank you again!
Can dried garbanzos be used and how does that alter this recipe?
I would cook the dry garbanzo beans first, so the roasted chickpeas will still be soft in the middle. I think dried chickpeas would be too hard, and possibly unpleasant without cooking them first.
Can’t believe how good these are!
These were delish! Made in the air fryer.
Yum! Have you tried making them in the Breville air fryer? If so, what temp and for how long would you cook them? Thanks so much!!!
Yes I’m wondering about the air fryer way too! THanks !
I haven’t made them in the Breville one yet, but I did test them in the air fryer and they cook MUCH faster that way! Here’s the tutorial: https://detoxinista.com/air-fryer-chickpeas/
thanks!
I wanted more of a snack-like chickpea, so I roasted for 50 minutes. I stirred them every 5 minutes after they were in for 40 minutes. Only 4 or 5 around the edges burned. The rest were CRISPY! I cooked the chickpeas in the instant pot first, then added the oil and a herb & garlic mix. Needed a little more seasoning, but other than that, AWESOME! Now I have a gluten and corn free snack to munch on when my husband decides to make popcorn!